What we've fixed, rebuilt, and finished right.
Every project here is a real job — the problem the homeowner called us about, what we found once we got into it, and exactly how we fixed it. No stock photos.
Gable-End Foundation Settlement
Soil had eroded out from under the footing at the gable end of the home, opening up gaps and cracking the mortar joints along the foundation line.
We excavated the affected section, poured concrete to rebuild support under the footing, and applied a waterproof membrane to keep the problem from coming back. The area was backfilled with sand and finished with mulch to match the surrounding beds.
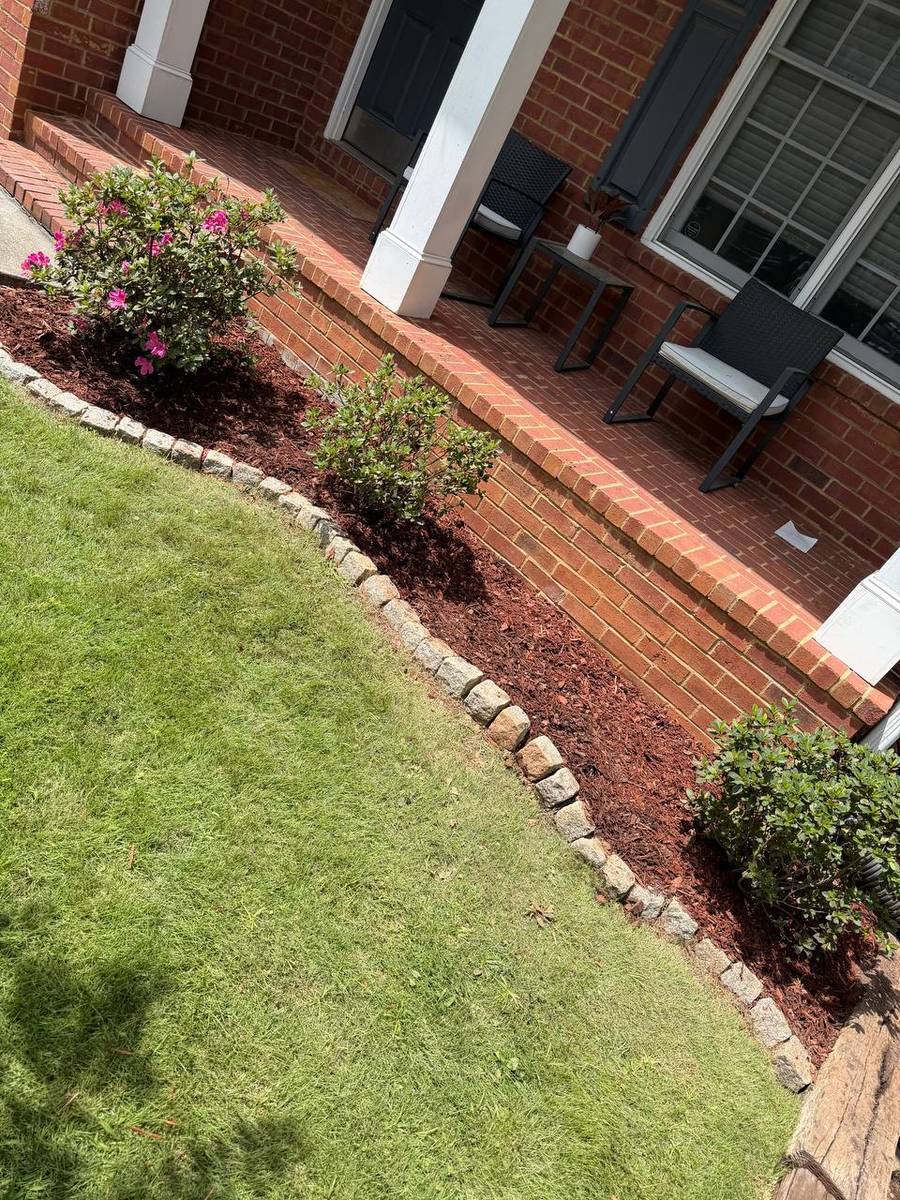
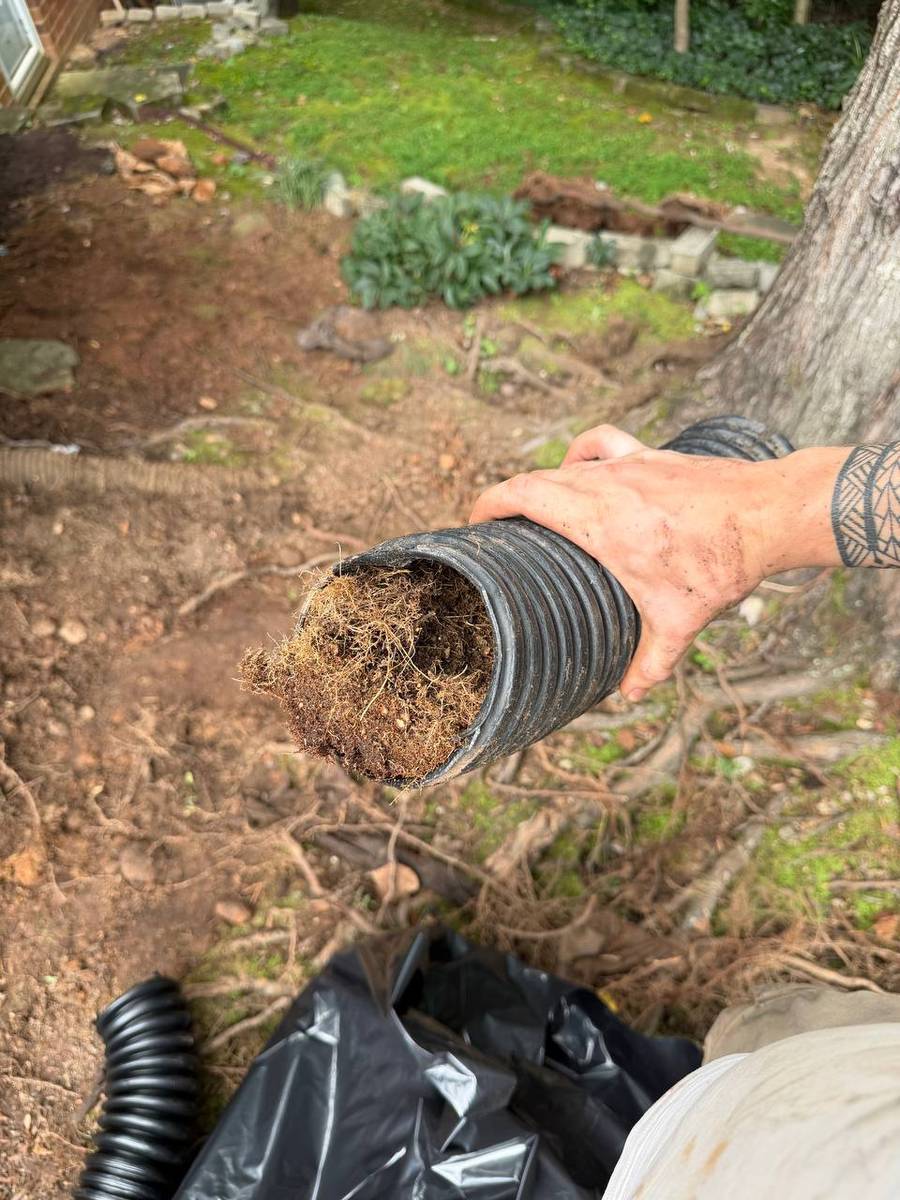
While we were digging along that side of the house, we found the downspout drain extension running from the gutters was completely packed with dirt and roots — which was part of why water wasn't draining away from the foundation and was feeding the erosion in the first place. We pulled the clogged section and installed a new drain line the full run, then reset the mulch bed and stone edging out front.
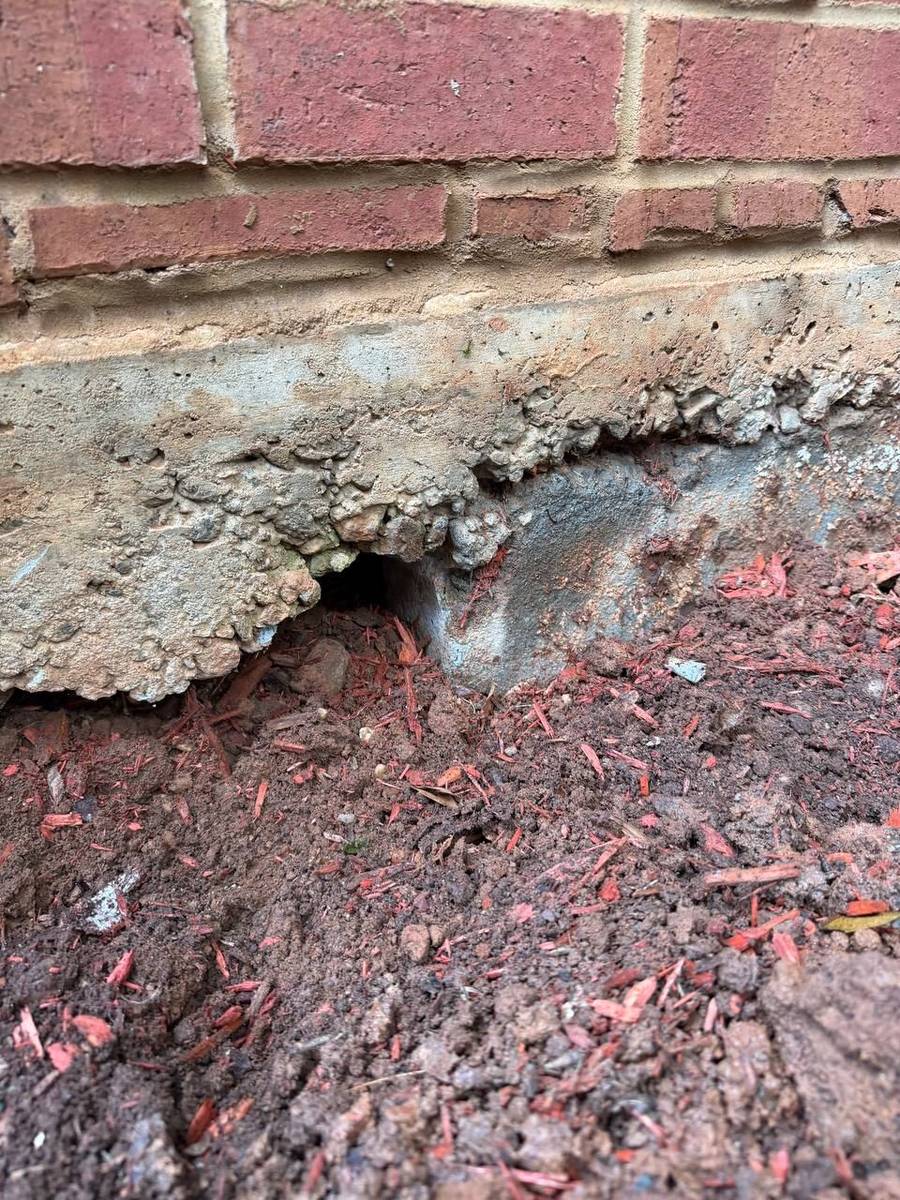
Foundation footing exposed where eroded soil left a gap at the gable end.
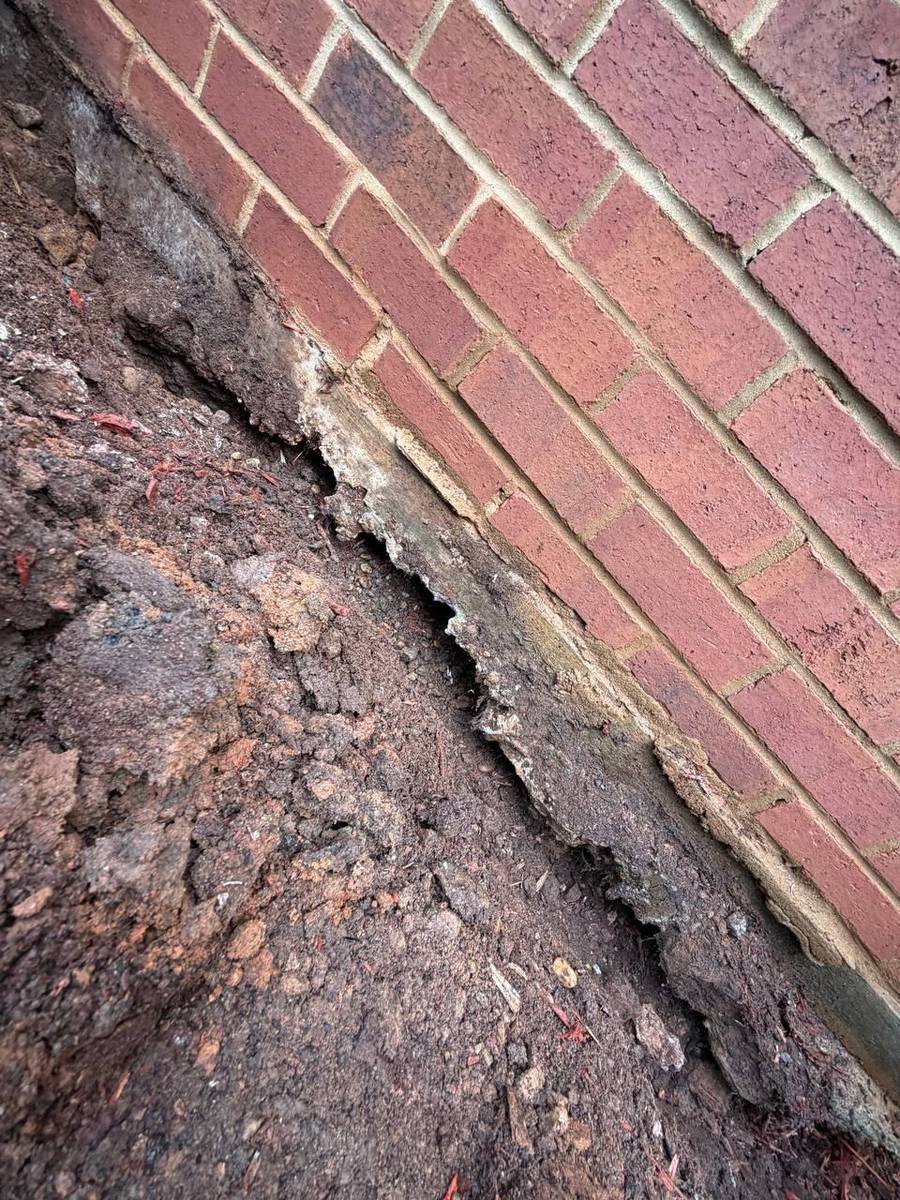
Mortar joint cracking along the foundation line from the settlement.
The old drain extension, packed solid with dirt and roots — no water was getting away from the foundation.
New drain line installed the full run, foundation crack sealed, bed finished with fresh mulch.
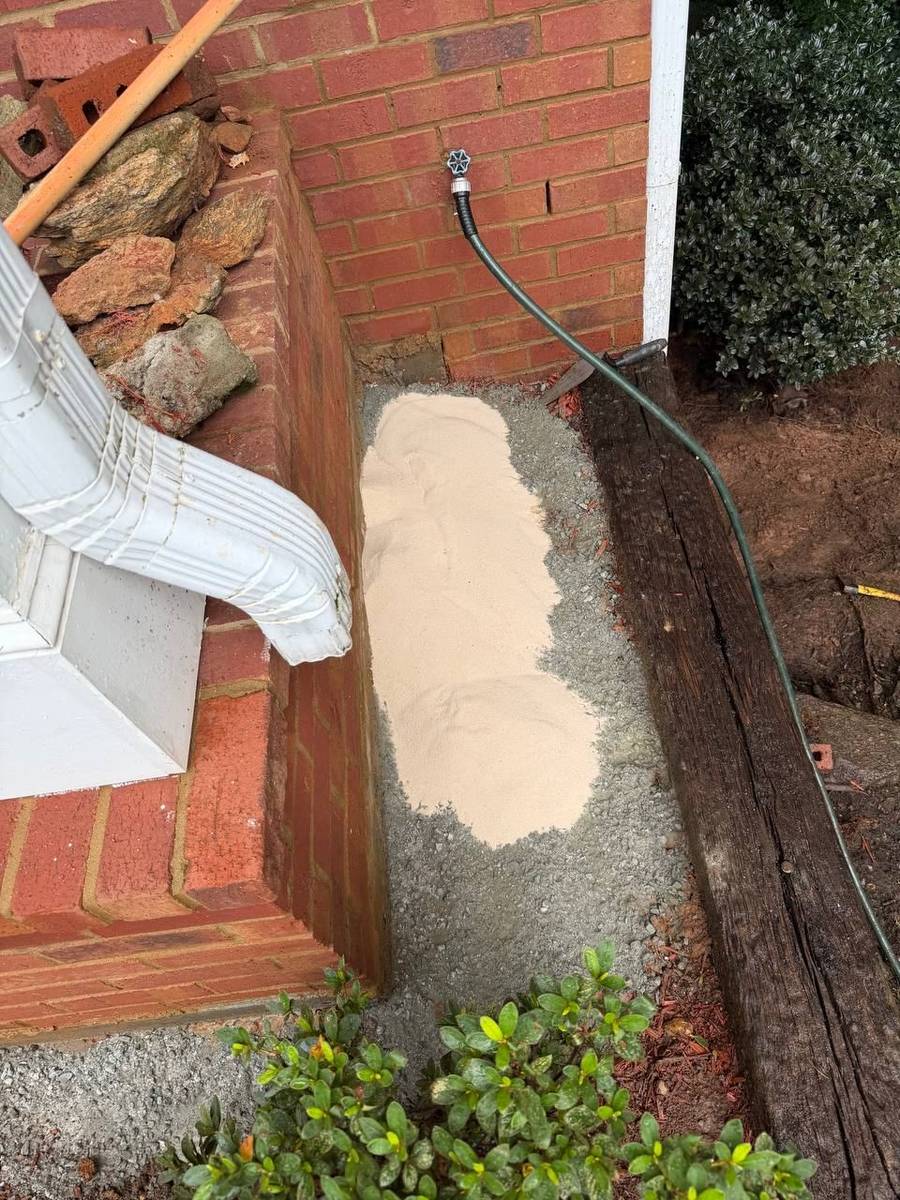
Support poured, waterproofed, and backfilled with sand.
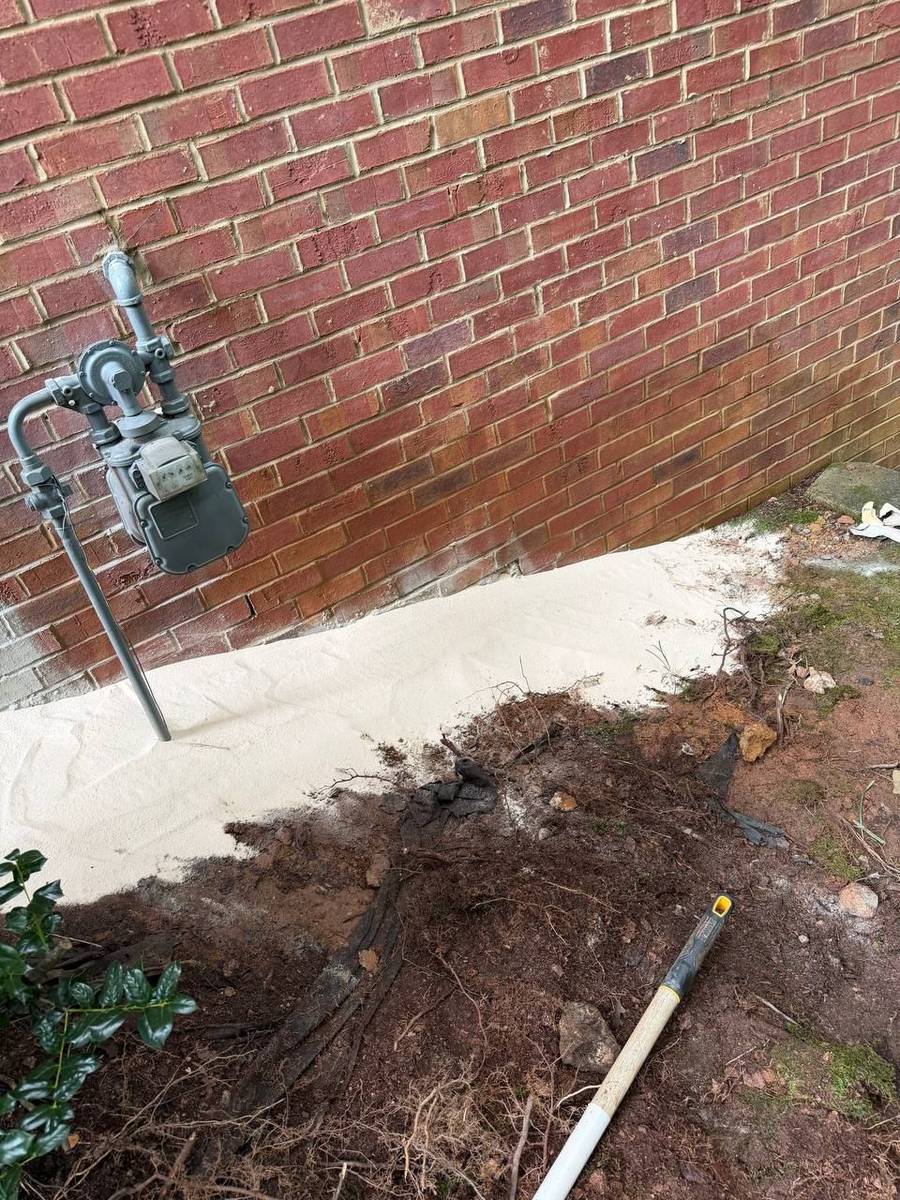
Finished repair along the foundation near the gas meter, backfilled and leveled.
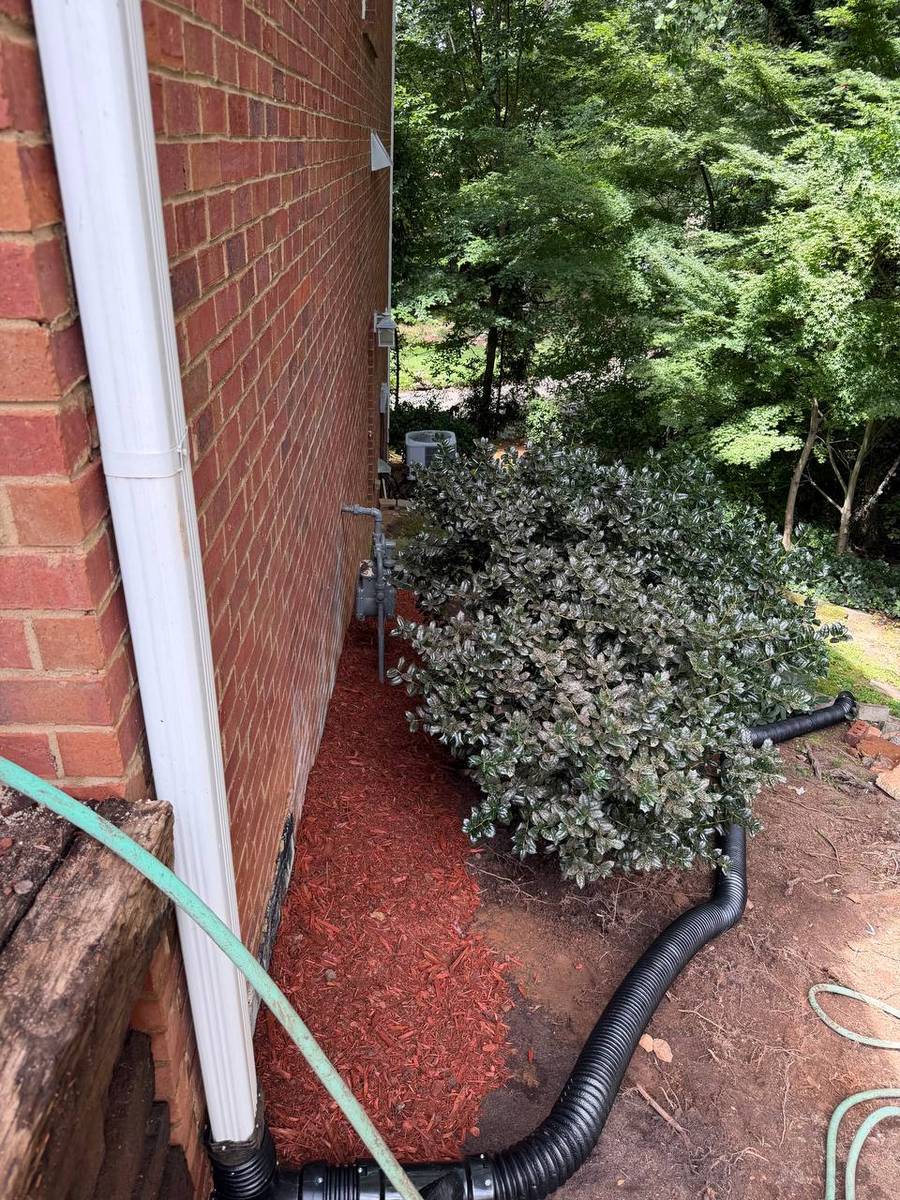
Beds and stone edging reset out front once the work was finished.
Shower Pan Releveling & Tile Repair
Water was pooling in the center of the shower floor instead of draining. The concrete substrate under the tile was badly out of level — more than a 2" difference across the pan — so water sat in a low spot every time the shower was used, and mold had taken hold across the tile.
The client didn't want to redo the whole bathroom and wasn't concerned with matching every surface — just wanted the problem actually fixed. So we scoped it that way: we stripped the mold off the existing tile, then demoed only the section of tile and substrate that had to come out. We poured new concrete with a proper level and slope toward the drain, added a two-level waterproofing membrane over it, and set new tile in the repaired section to match what the client picked out.
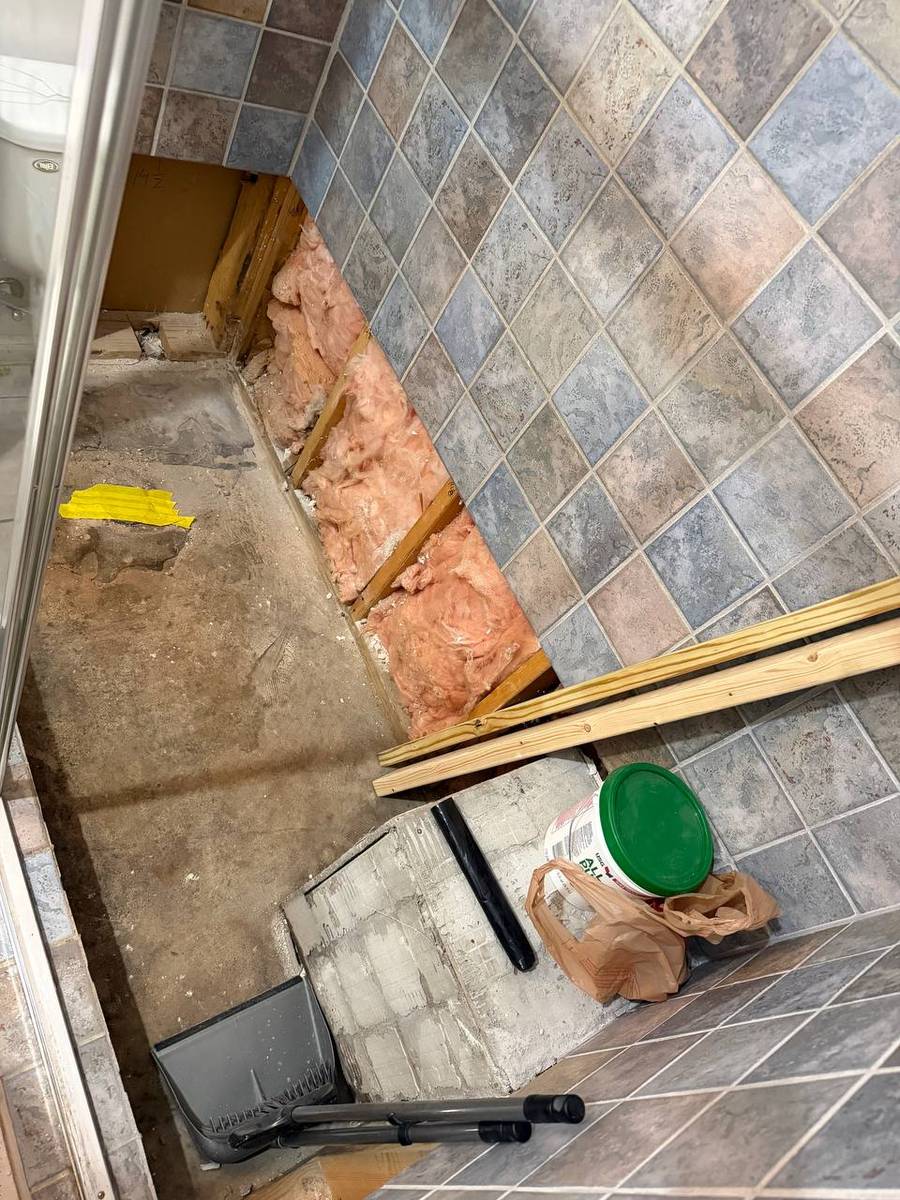
Tile and substrate removed down to the framing to fix the slope at the source, not just skim over it.
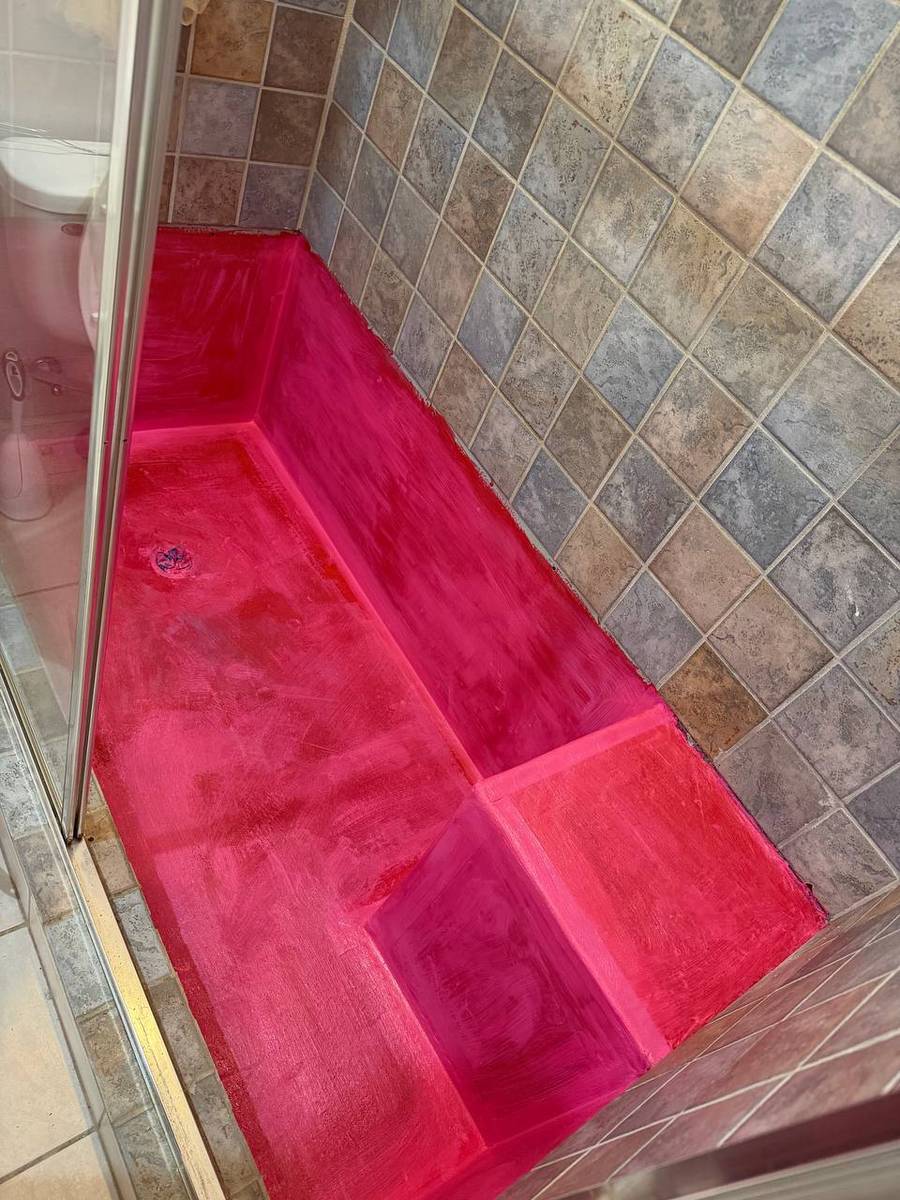
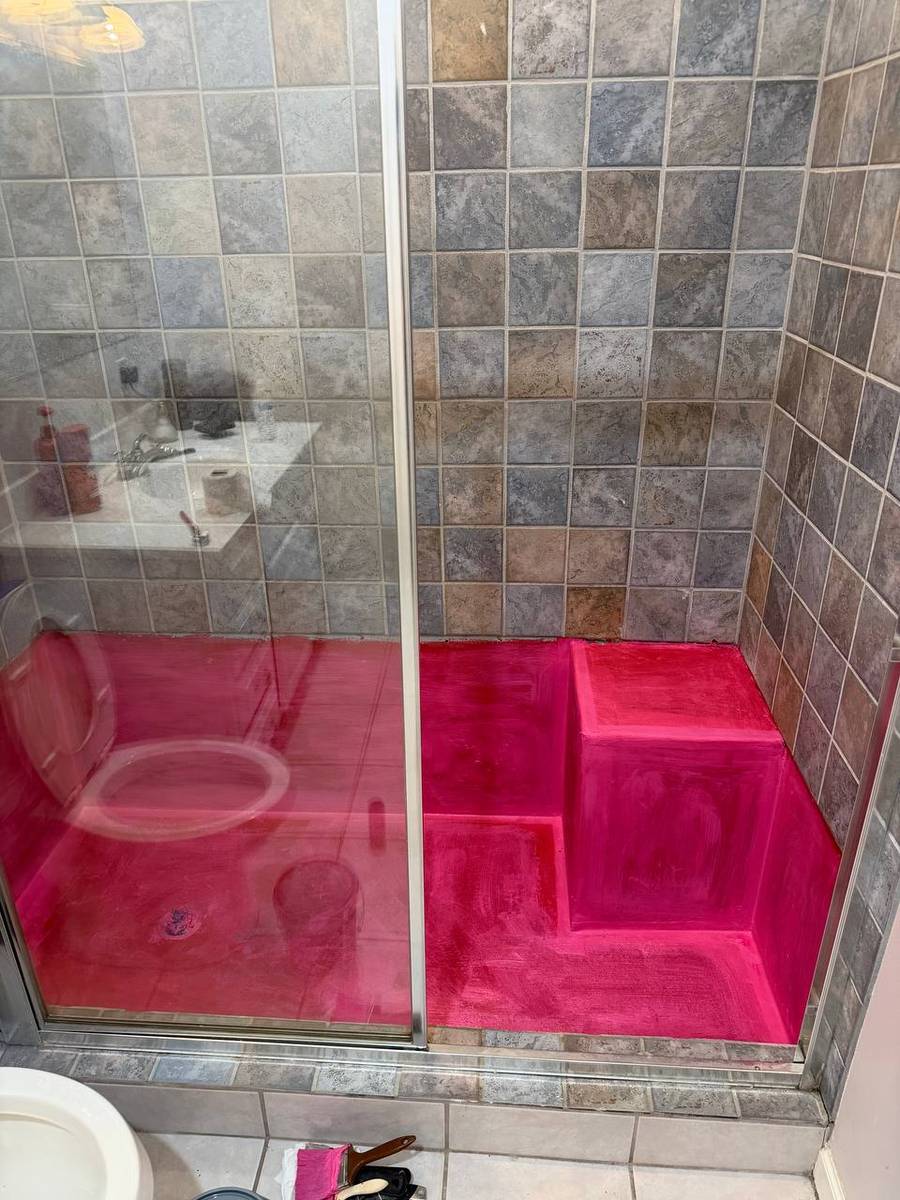
New concrete poured with a true slope to the drain, then sealed with a two-level waterproofing membrane before any tile went back down.
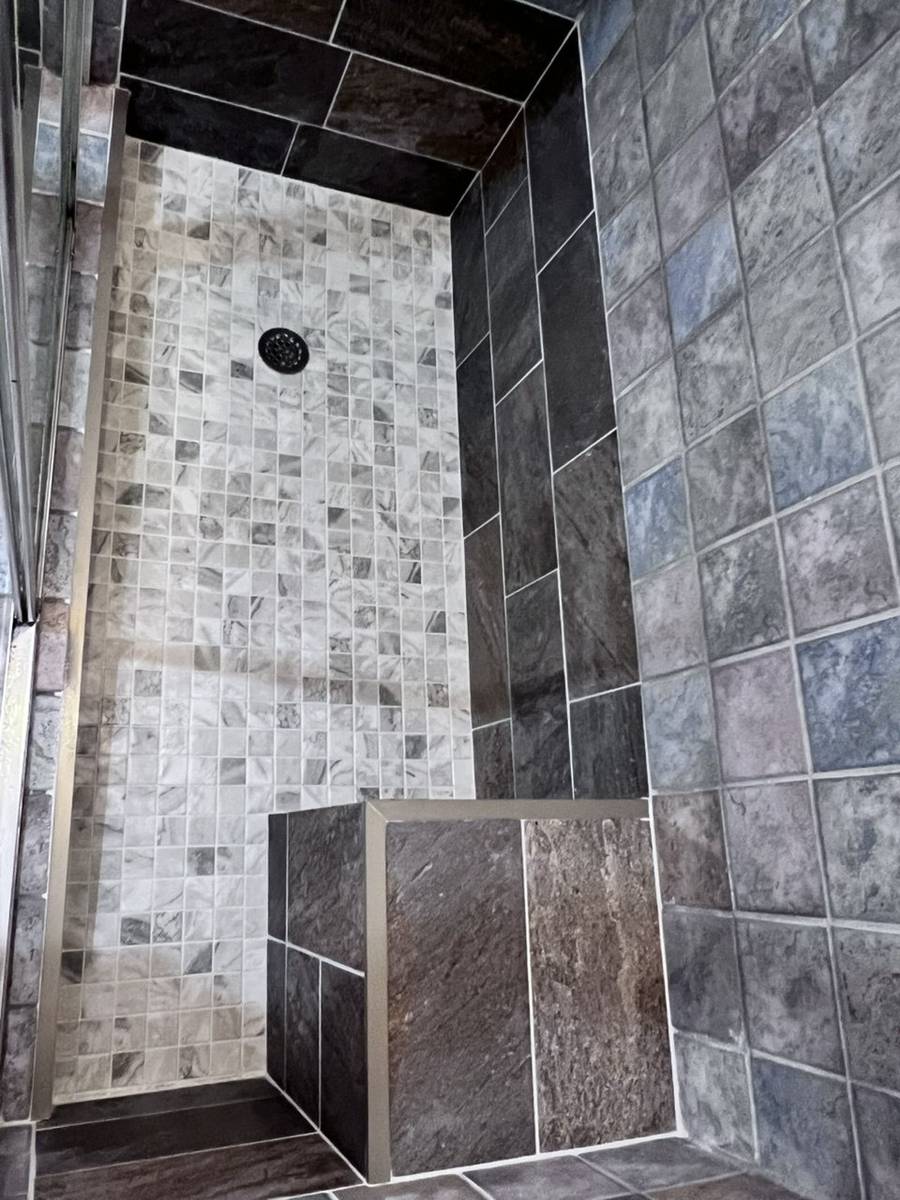
New tile set over the releveled, waterproofed pan — water now drains properly.
Kitchen Sink Drain Leak
Not every job is a multi-day project — we take on small repairs too. This one was a kitchen sink drain that had been connected incorrectly, so it was leaking under the sink and dripping onto the wood cabinet base every time the sink was used.
We replaced the drain connections with a properly sealed fit and confirmed there was no more leak before we left.
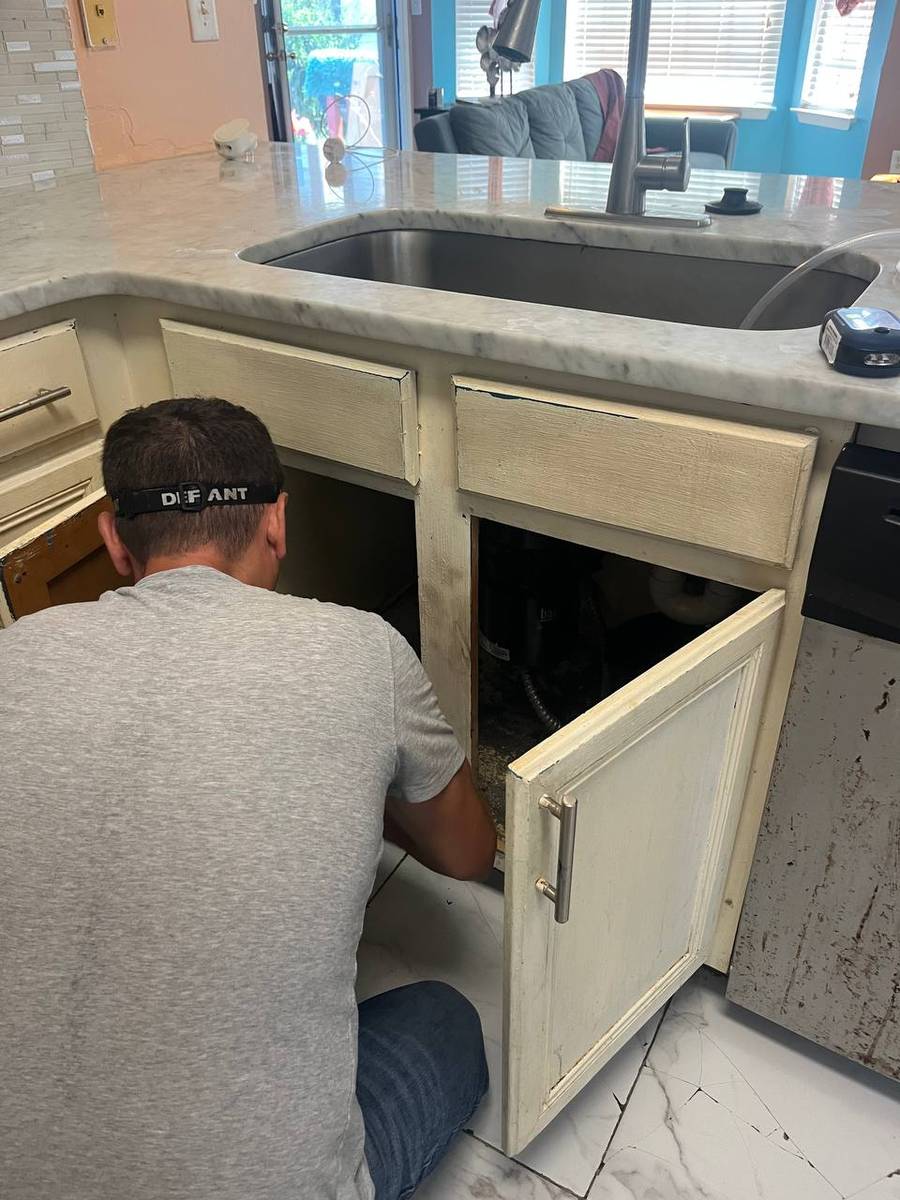
Tracing the leak back to a bad drain connection under the sink and fixing it on the spot.
Ceramic Towel Holder Re-Mount
A ceramic towel bar holder had come loose off the shower tile. A quick handyman fix: we cleaned off the old adhesive from both the tile and the back of the piece, then re-mounted it with epoxy so it's solidly back in place.
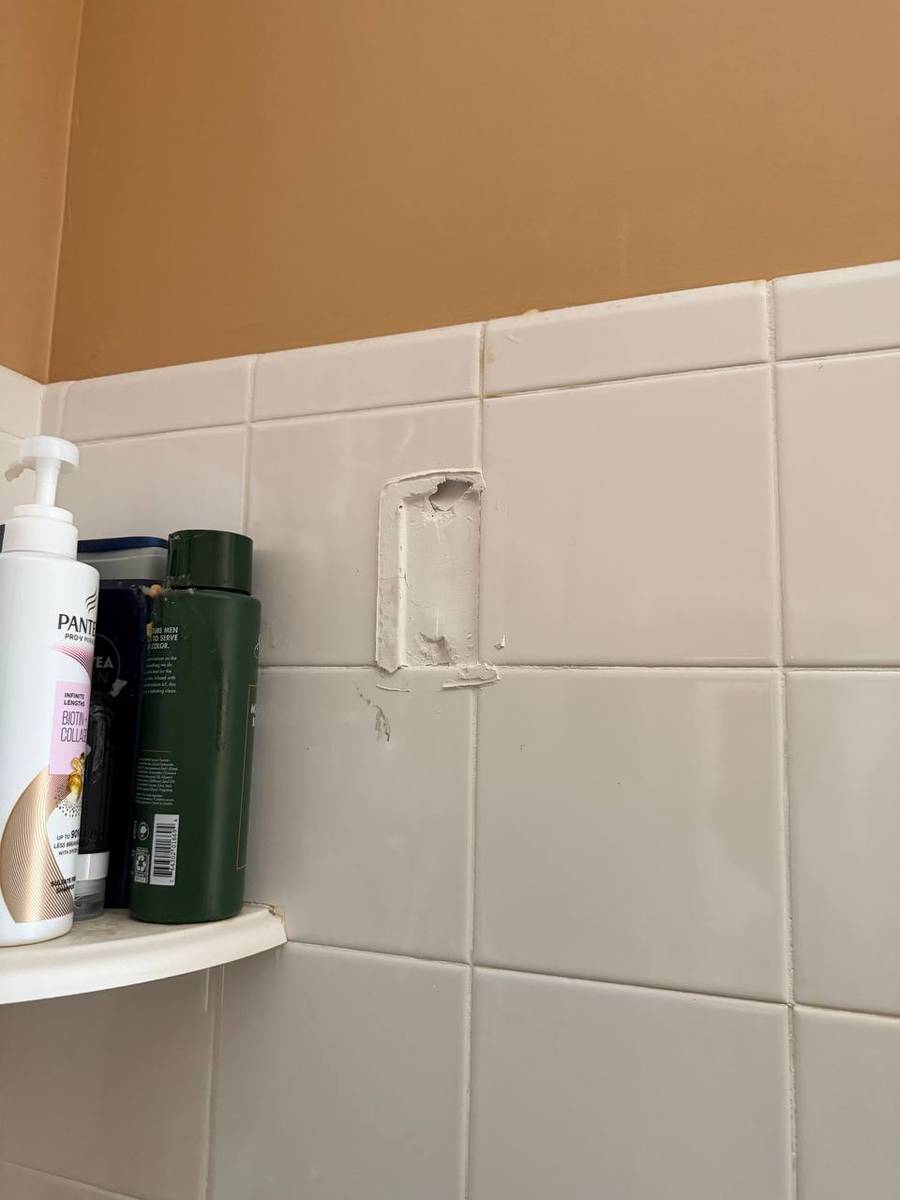
Bare tile where the ceramic towel holder had come loose and fallen off.
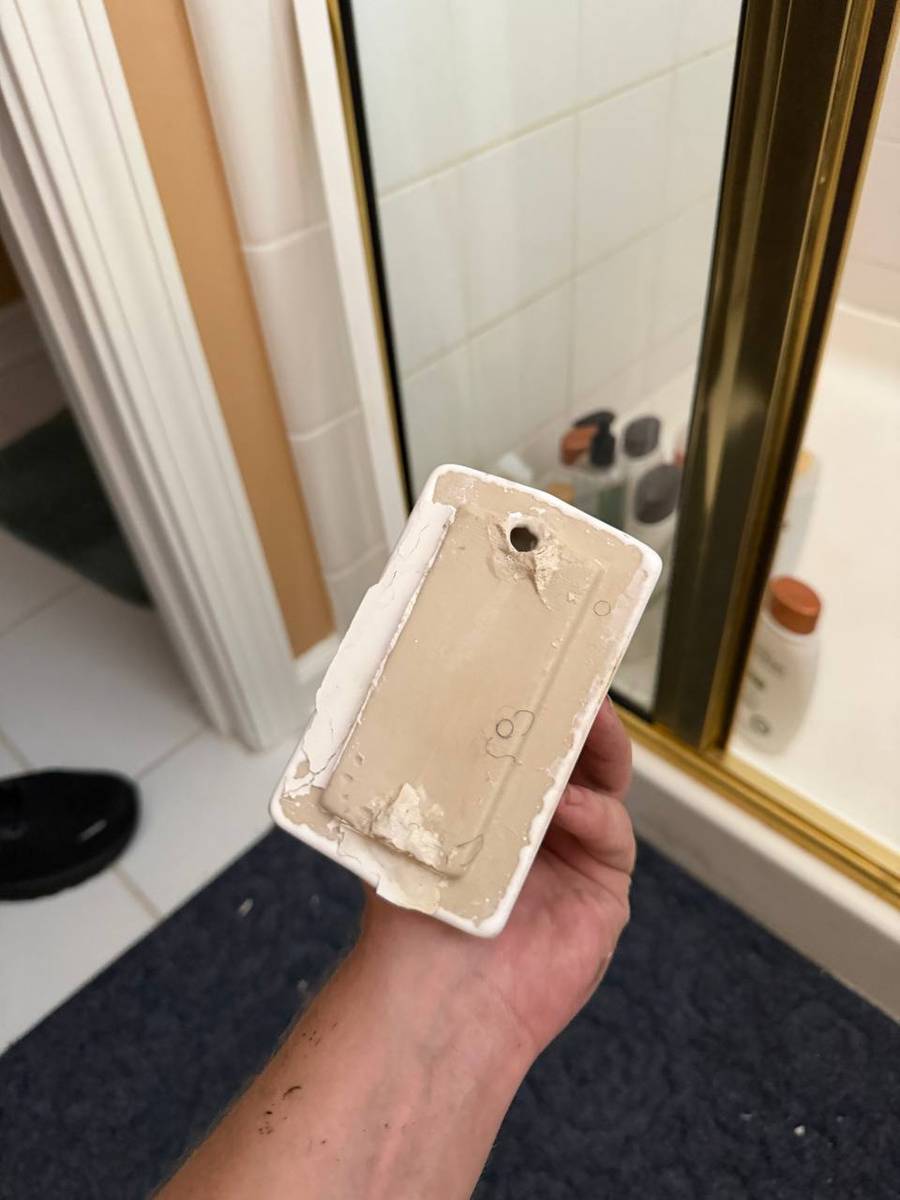
Old adhesive cleaned off the piece before re-mounting it with epoxy.
Frameless Bathroom Mirror Installation
The homeowner had just finished a bathroom remodel and needed a large frameless mirror mounted above the vanity. Regular construction adhesive isn't safe for mirror backing — it can react with the coating and leave permanent black spots — so this needs the right materials and a clean install.
We cleaned and degreased the wall surface, then set the mirror using adhesive rated specifically for mirrors, applied in the correct pattern for even support. The vanity light and surrounding trim were protected and taped off during the install.
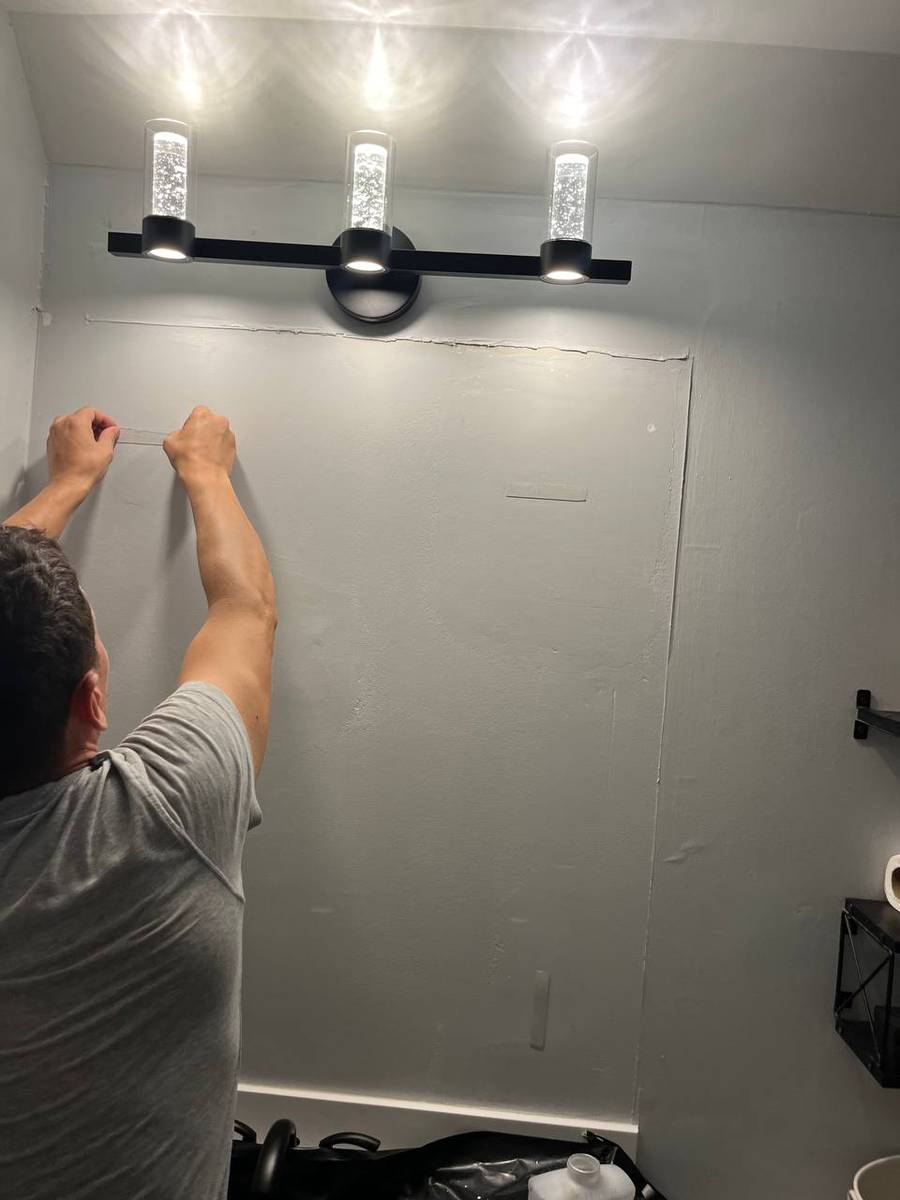
Mirror-rated adhesive applied to a cleaned, degreased wall — standard construction adhesive would stain the mirror backing.
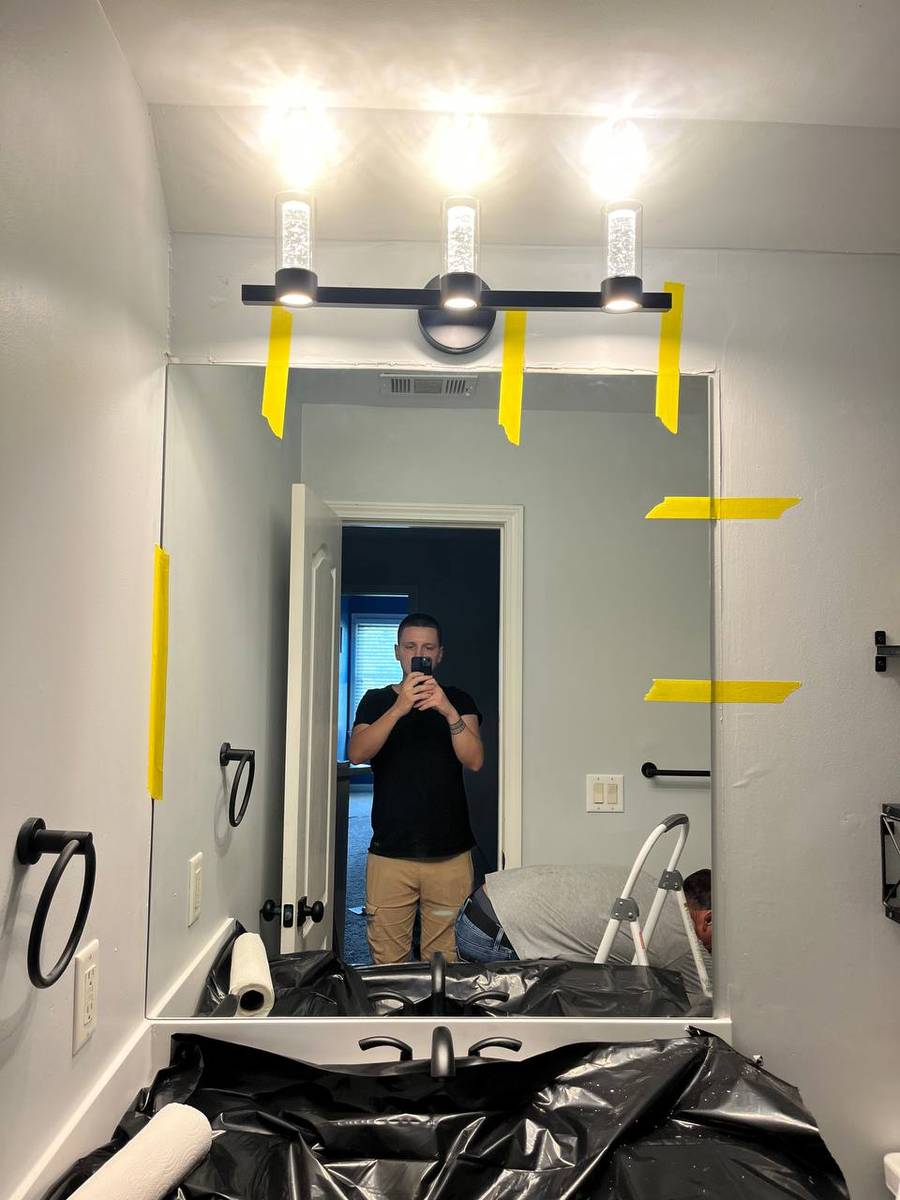
Mirror set and taped in place under the new vanity light while the adhesive cures.
Have a project like this?
Send us a few photos and we'll follow up with next steps.
Get a free estimate